Ultimate Telegram Text Formatting Guide: Shortcuts, Tricks, and Tools
Knowing how to style text is incredibly important if you frequently use Telegram or post on your channel.
Why? It’s straightforward: your jokes will be funnier your text will be easier to read, and you’ll get more responses from your channel/group subscribers.
Currently, Telegram supports the following text formatting options: hidden (you’ll have to click on the text to see it), bold, italic, monospace, strikethrough, underlined, link.
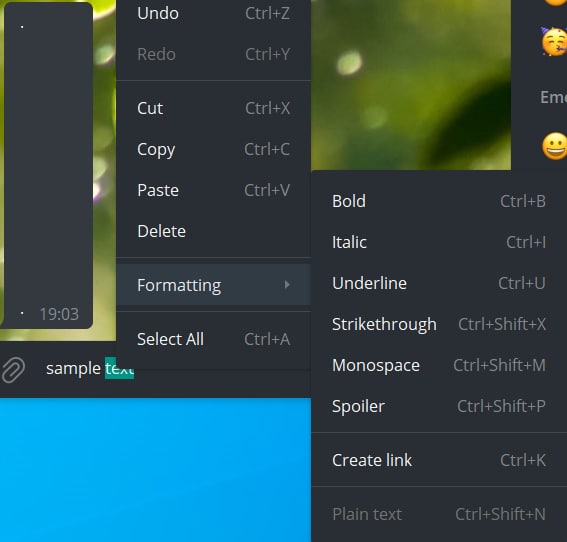
How to format text in Telegram using the context menu
This is the simplest way to do the formatting which works on all platforms. The instruction for each platform is below:
- Select the text you want to add formatting to.
- Click it with the right mouse button.
- In the opened menu select “Formatting”.
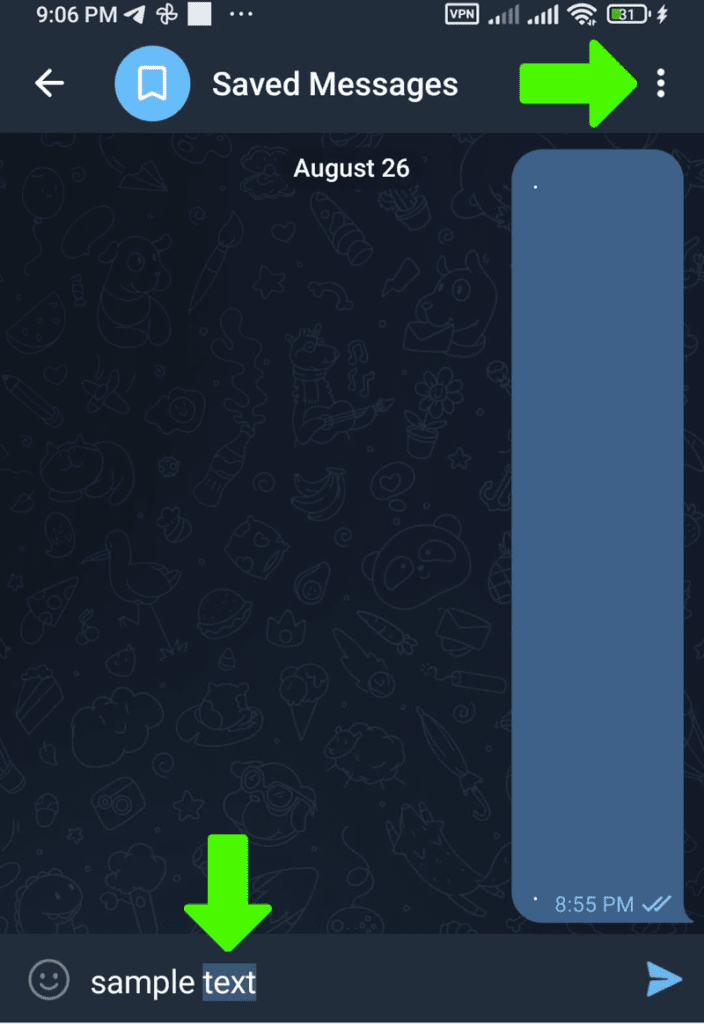
- Select the text you want to add formatting to.
- Press three dots at the right top corner.
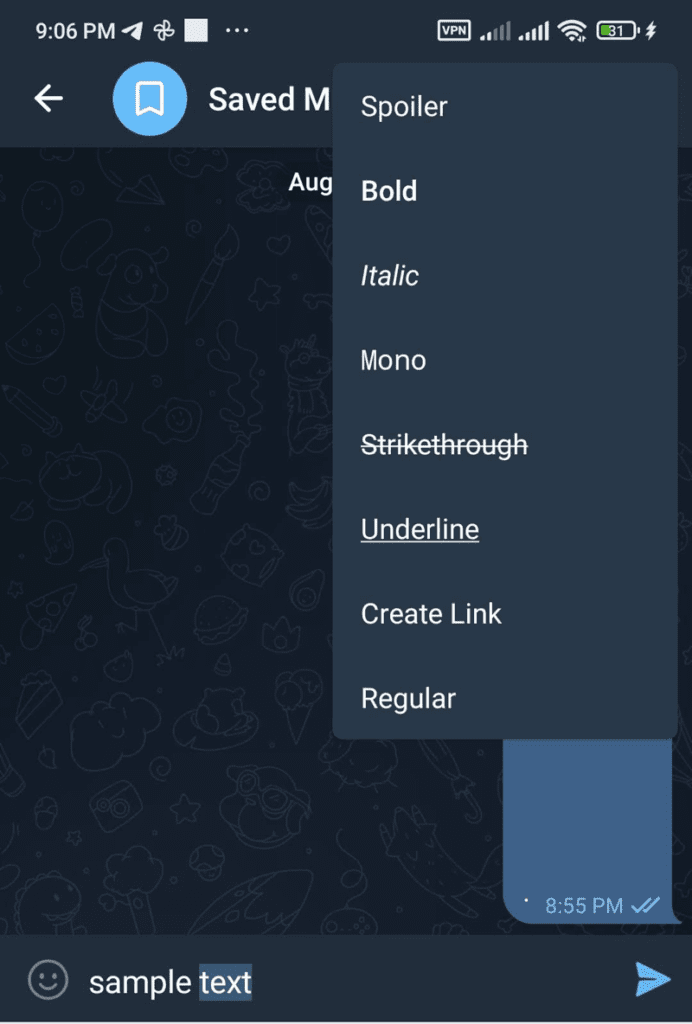
- Instead of the usual menu, you’ll see the formatting options menu:
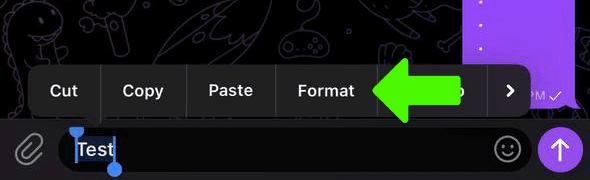
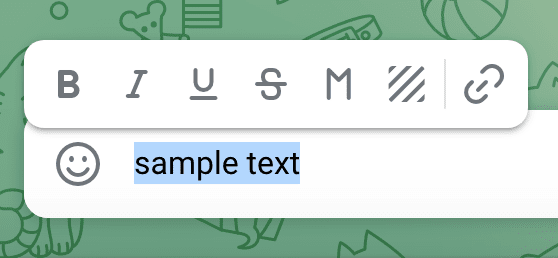
- Select the text you want to add formatting to.
- Click “Format” or “BIU” in the opened context menu (if you don’t see it press ▶ on the right).
- Select the desired formatting option (you can scroll through all formatting options by pressing ◀ ▶ on the sides)
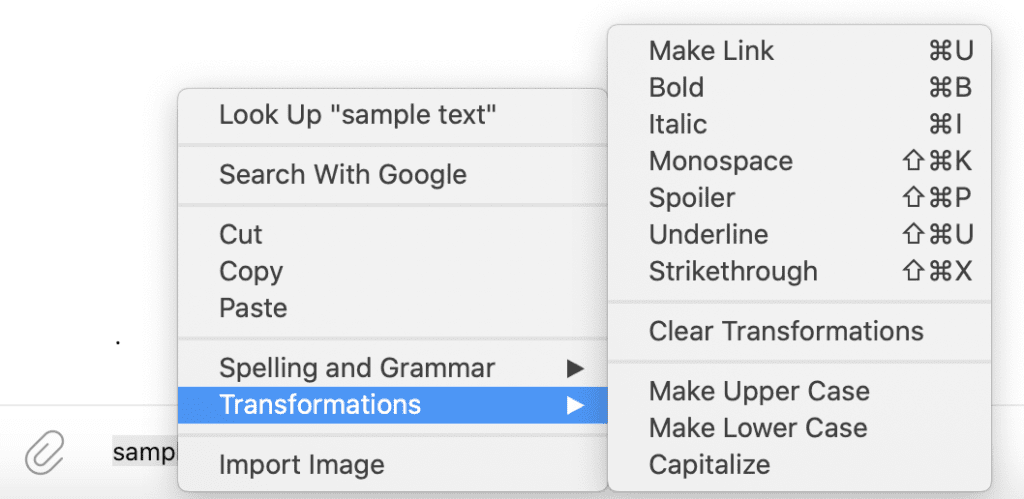
- Select the text you want to add formatting to.
- Right-click it.
- Select “Transformations” in the opened menu:
Select the text you want to add formatting to and you’ll see all the options immediately:
Telegram keyboard shortcuts for text formatting
If you often format text on your PC or Mac, it will be useful to learn shortcuts to do this.
Simply select the text you want to format, then press:
Bold
Windows: Ctrl + B
MacOS: ⌘ + B
Italic
Windows: Ctrl + I
MacOS: ⌘ + I
Underlined
Windows: Ctrl + U
MacOS: ⌘ + Shift + U
StrikethroughWindows: Ctrl + Shift + X
MacOS: ⌘ + Shift + X
Monospace
Windows: Ctrl + Shift + M
MacOS: ⌘ + Shift + K
Hyperlink
Windows: Ctrl + K
MacOS: ⌘ + U
Spoiler (hidden text)
Windows: Ctrl + Shift + P
MacOS: ⌘ + Shift + B
Remove all formatting (normal text)
Windows: Ctrl + Shift + N
MacOS: doesn’t have
Formatting with Markdown (special symbols)
If you like Markdown (it is the method of formatting your text by wrapping it with special symbols), then you’ll be happy to know that Telegram supports it:
- **Bold text** – double asterisks from both sides of the text.
- __Italic text__ – double underscore.
- ~~
Strikethrough text~~ – double tilde. - `Monospaced text` – one apostrophe.
- “`Monospaced text 2“` – three apostrophes, it will allow you to use a new line symbol (basically, to make multiple lines of text monospaced). It is different from the mono via context menu (on Mac it is without color and won’t be copied to the clipboard on both Windows and MacOS on the click, because of this to format multiple lines, better use the context menu).
Making text underlined with Markdown is impossible, as well as making it a hyperlink.
Monospaced font. What kind of beast is this?
I want to explain WTF what is this “monospaced font”. Because all other formatting options are pretty straightforward.
But “mono”… uh. The mono you will make with Markdown (the instruction is below), it is for sending the code. Other ones… who knows for what (by “code” I mean pieces of code in programming languages, or like HTML).
If you’ll click or press on the monospaced text, it will be automatically copied to the clipboard. As well on Windows, it will be green color, and on MacOS red color.
Monospaced text done with Markdown (see below how) won’t be changed by Telegram: links to websites won’t convert to clickable hyperlinks, emoji codes like 🙂 won’t be converted to graphical emojis:

What it can be used for: if you don’t want your text to be converted to emojis or it will be very easy to copy it to the clipboard.
Weird fact: if you’ll make text mono with MarkDown (via triple apostrophe, see below), then it will be without color on MacOS. But on Windows, it will be still a green color. But it won’t be copied to the clipboard on the click on both Windows and Mac. But it will be copied on smartphones, at least on Android. Hmm, I should not have written this article at night…
Formatting with the bot @bold
Another way to make text bold, italic, or mono is to use the @bold bot:

Just start writing a message with @bold and follow it with the text you want to add formatting to, and in a moment you’ll see the menu above. Where “Fixedsys” means monospaced font.
Keep in mind that after you select the formatting option, your text will be immediately submitted!
Other options
Website piliapp.com
Another way of formatting text is replacing regular letters with ̤s̤p̤e̤c̤i̤a̤l̤ ̤s̤y̤m̤b̤o̤l̤s̤, which looks similar but has some d̷e̷c̷o̷r̷a̷t̷i̷o̷n̷. This website will help you do exactly that:
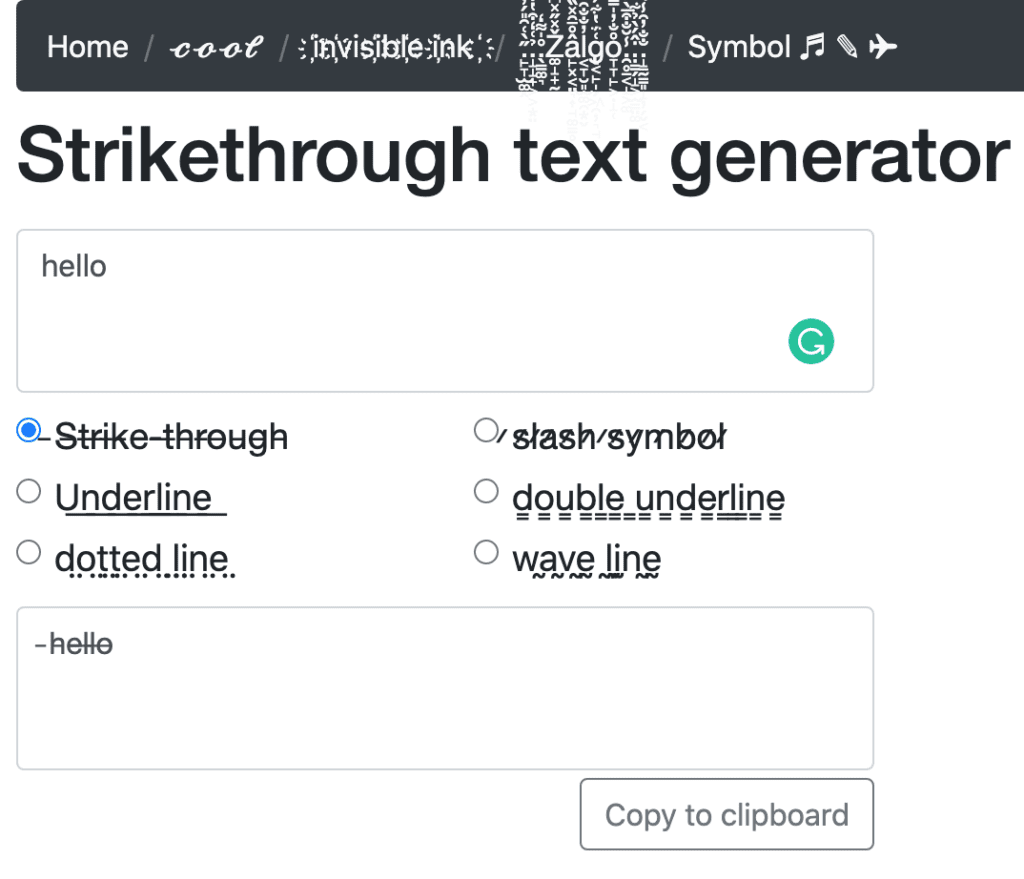
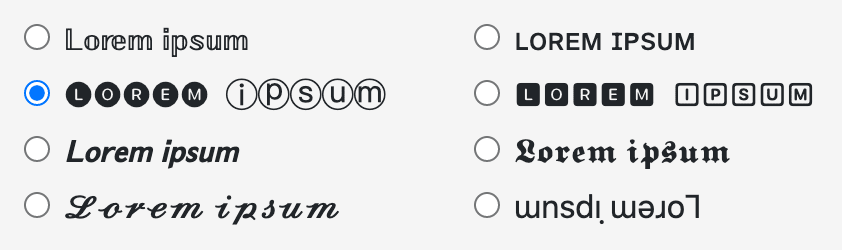
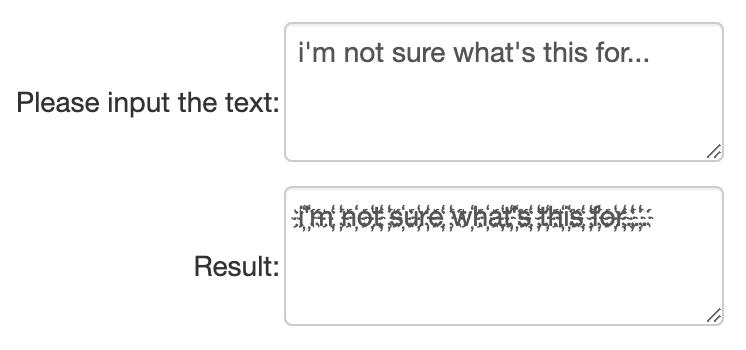
If it looks useful, you may wanna visit their website. On the top, you’ll see a menu you can use to switch between their tools.
UTF symbols
Telegram supports UTF-8, which means you can use any UTF-8 symbols you can find, such as: ✓ ♓ ⓷ ? etc.
That may help you to decorate your text as well. Here I found a nice table of those symbols, grouped into categories.
Services/bots for posting to channels & groups
Most of those services have some instruments to help you with text formatting.
For example, it may have a visual editor so that the formatting would be as simple as formatting text in Microsoft Word or Google Docs.
Conclusion
Frankly, I didn’t know before I started writing this article that there are so many additional ways to format text in Telegram. So now you can select any method you like.
Shortcuts are kinda tedious to remember, but, if you are formatting text every day, I think that will be the most time-saving method for you.
If you are a programmer, monospaced font with Markdown is very convenient for sending pieces of your code to fellow programmers.
For other people, I think the context menu will be the easiest option to go. Good luck!